Parallel Guide; Foam Planter Tutorial
Hey there! Welcome to Para//el Craft. I hope you enjoy this first Para//el Guide tutorial.
These foam planters are sometimes referred to as “faux hypertufa”, or “faux concrete” planters and can be made in a wide range of styles. Having a bunch of coolers on hand is what drew me to the project. I have a relative who receives regular shipments of medicine that is refrigerated. As a crafty person I don’t like to throw away things that make my think “I could totally make something with this”. I am happy to give these styrofoam containers new life versus sending them to a landfill. Lets begin!
Supplies;
Materials;
Foam Container, Paint (2 colors), Window Screen or Rocks.
Tools;
Razer Knife or Box Cutter, Steel Brush, Drill, Hole Saw or Spade Drill Bit, Vacuum, Leather Gloves, Heat Gun, Paper Bag, & Paint Brushes.
Shaping the Foam
This part is messy! I recommend working on this in a garage or other workspace that is easy to cleanup.
Step 1;
Remove the inside edge using a utility knife and discard what is removed. (If using a shorter blade it may take multiple passes to prevent large chunks of foam from tearing off.)
Step 2;
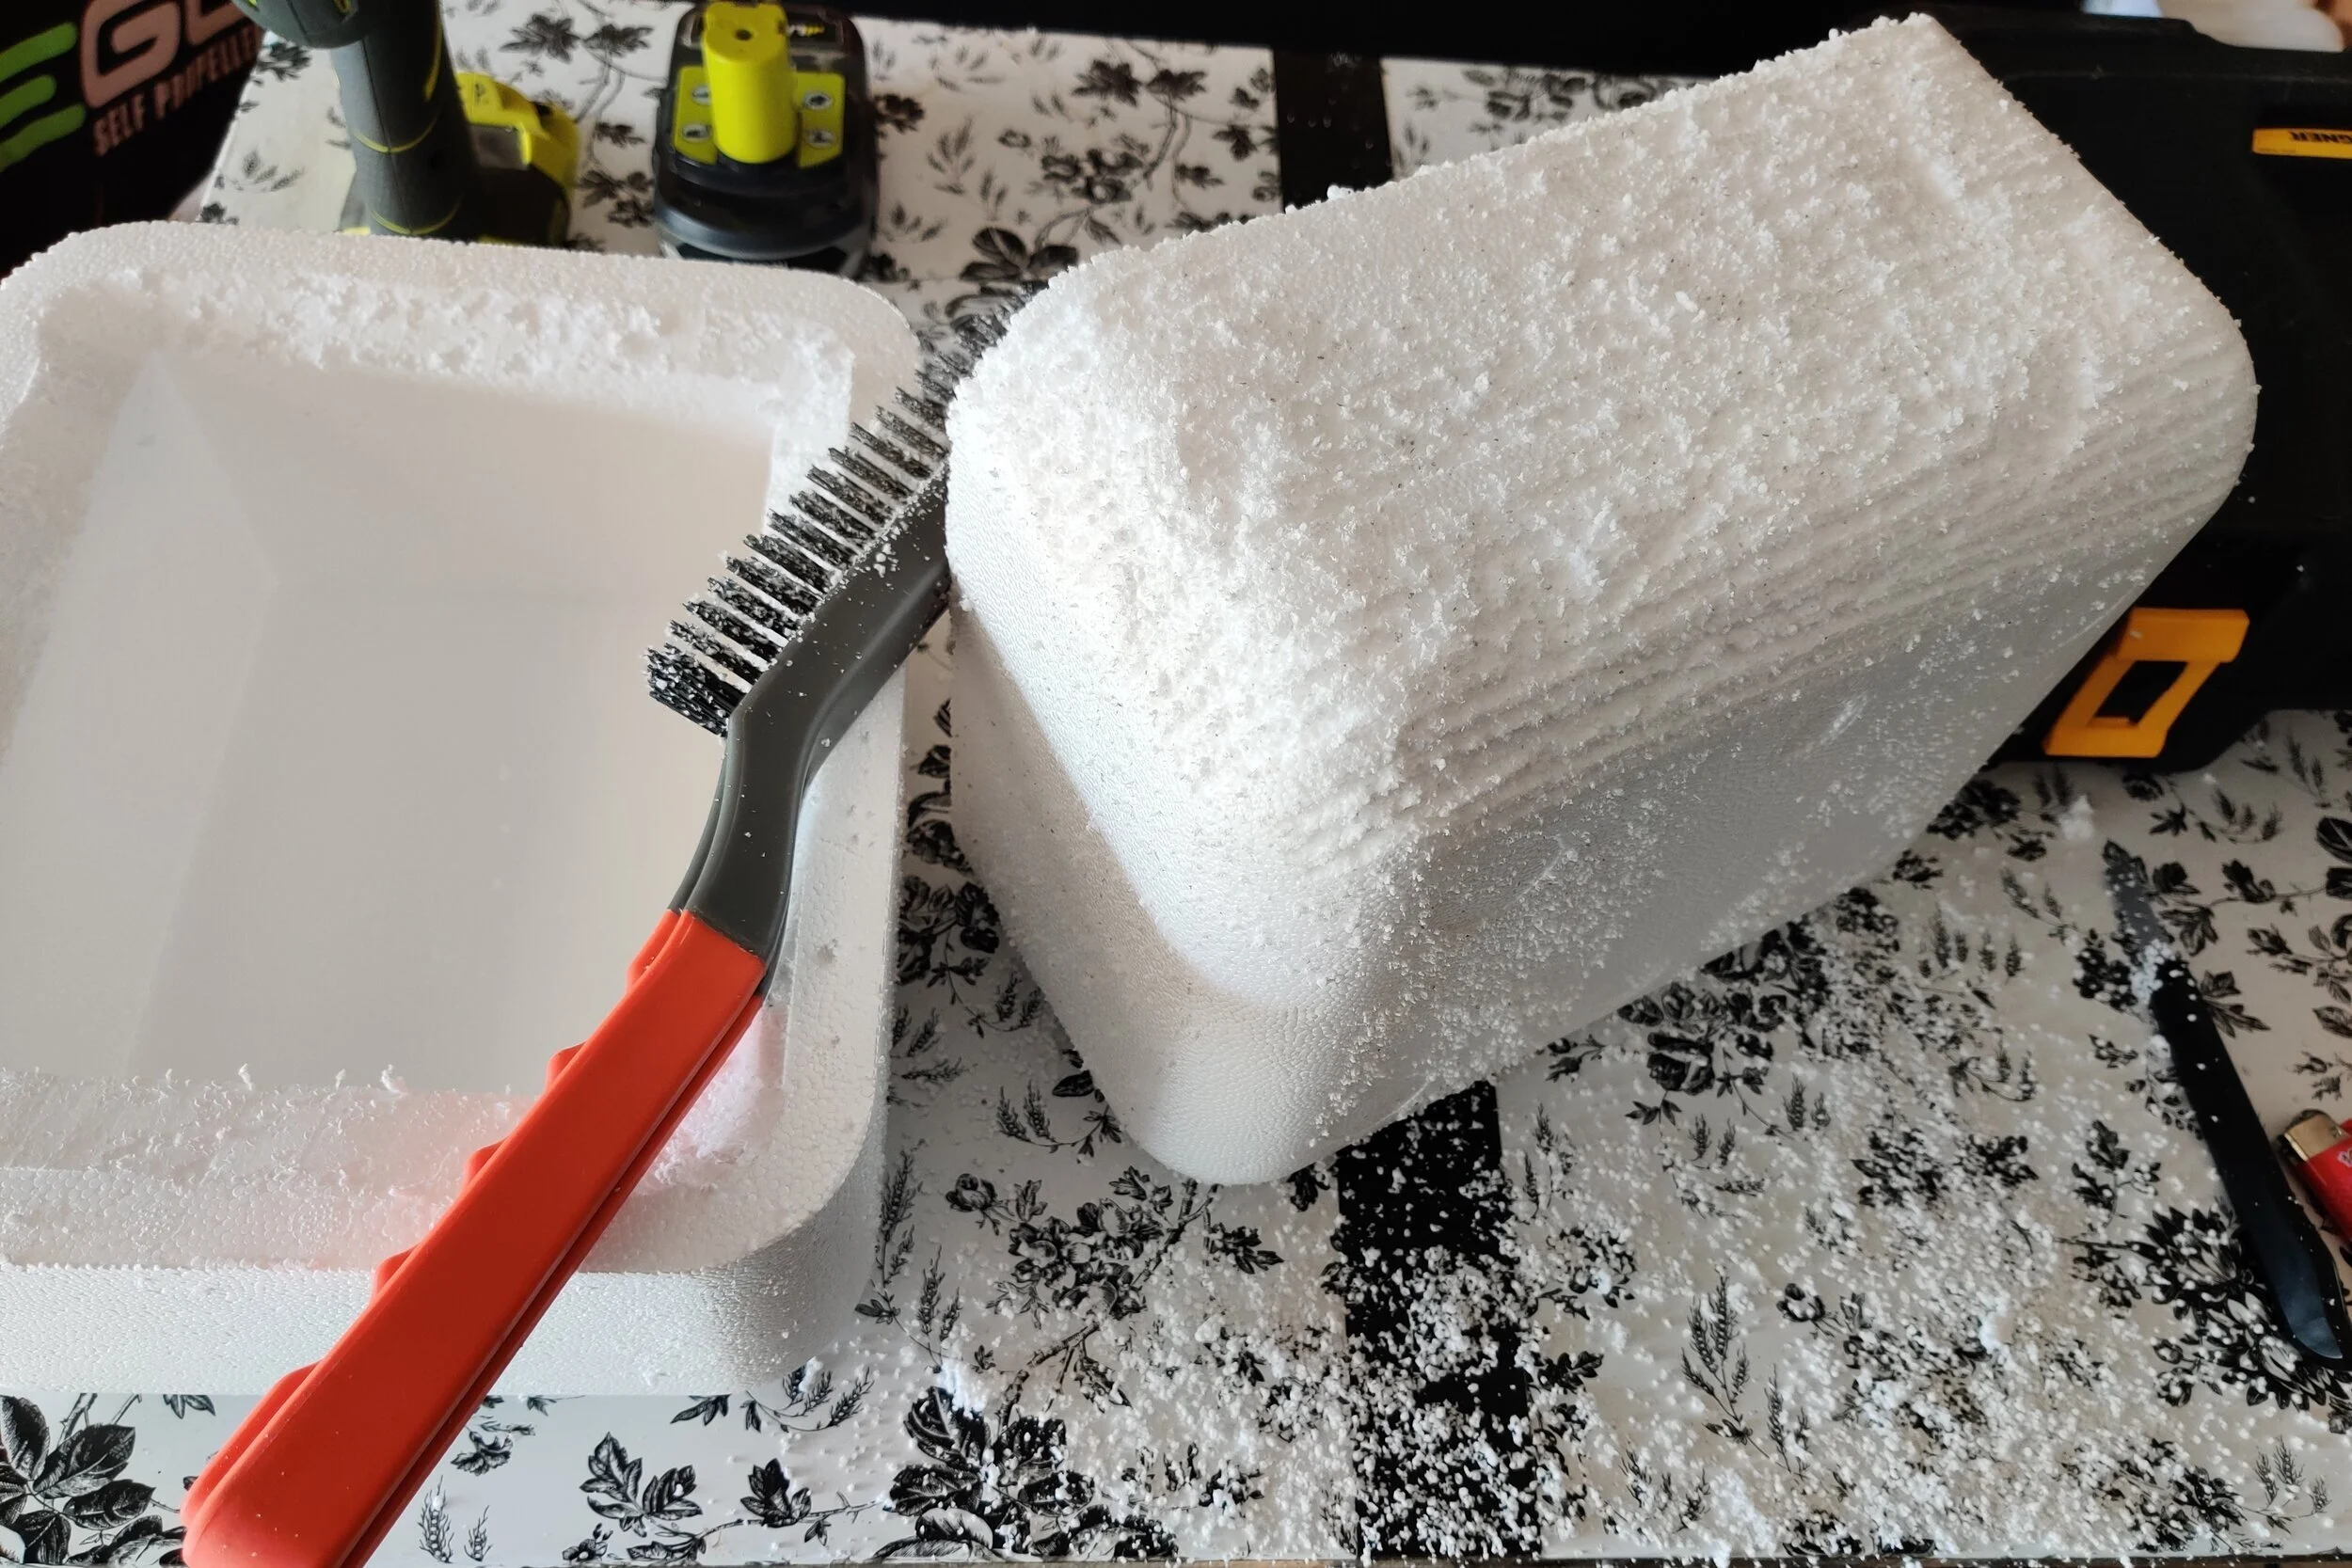
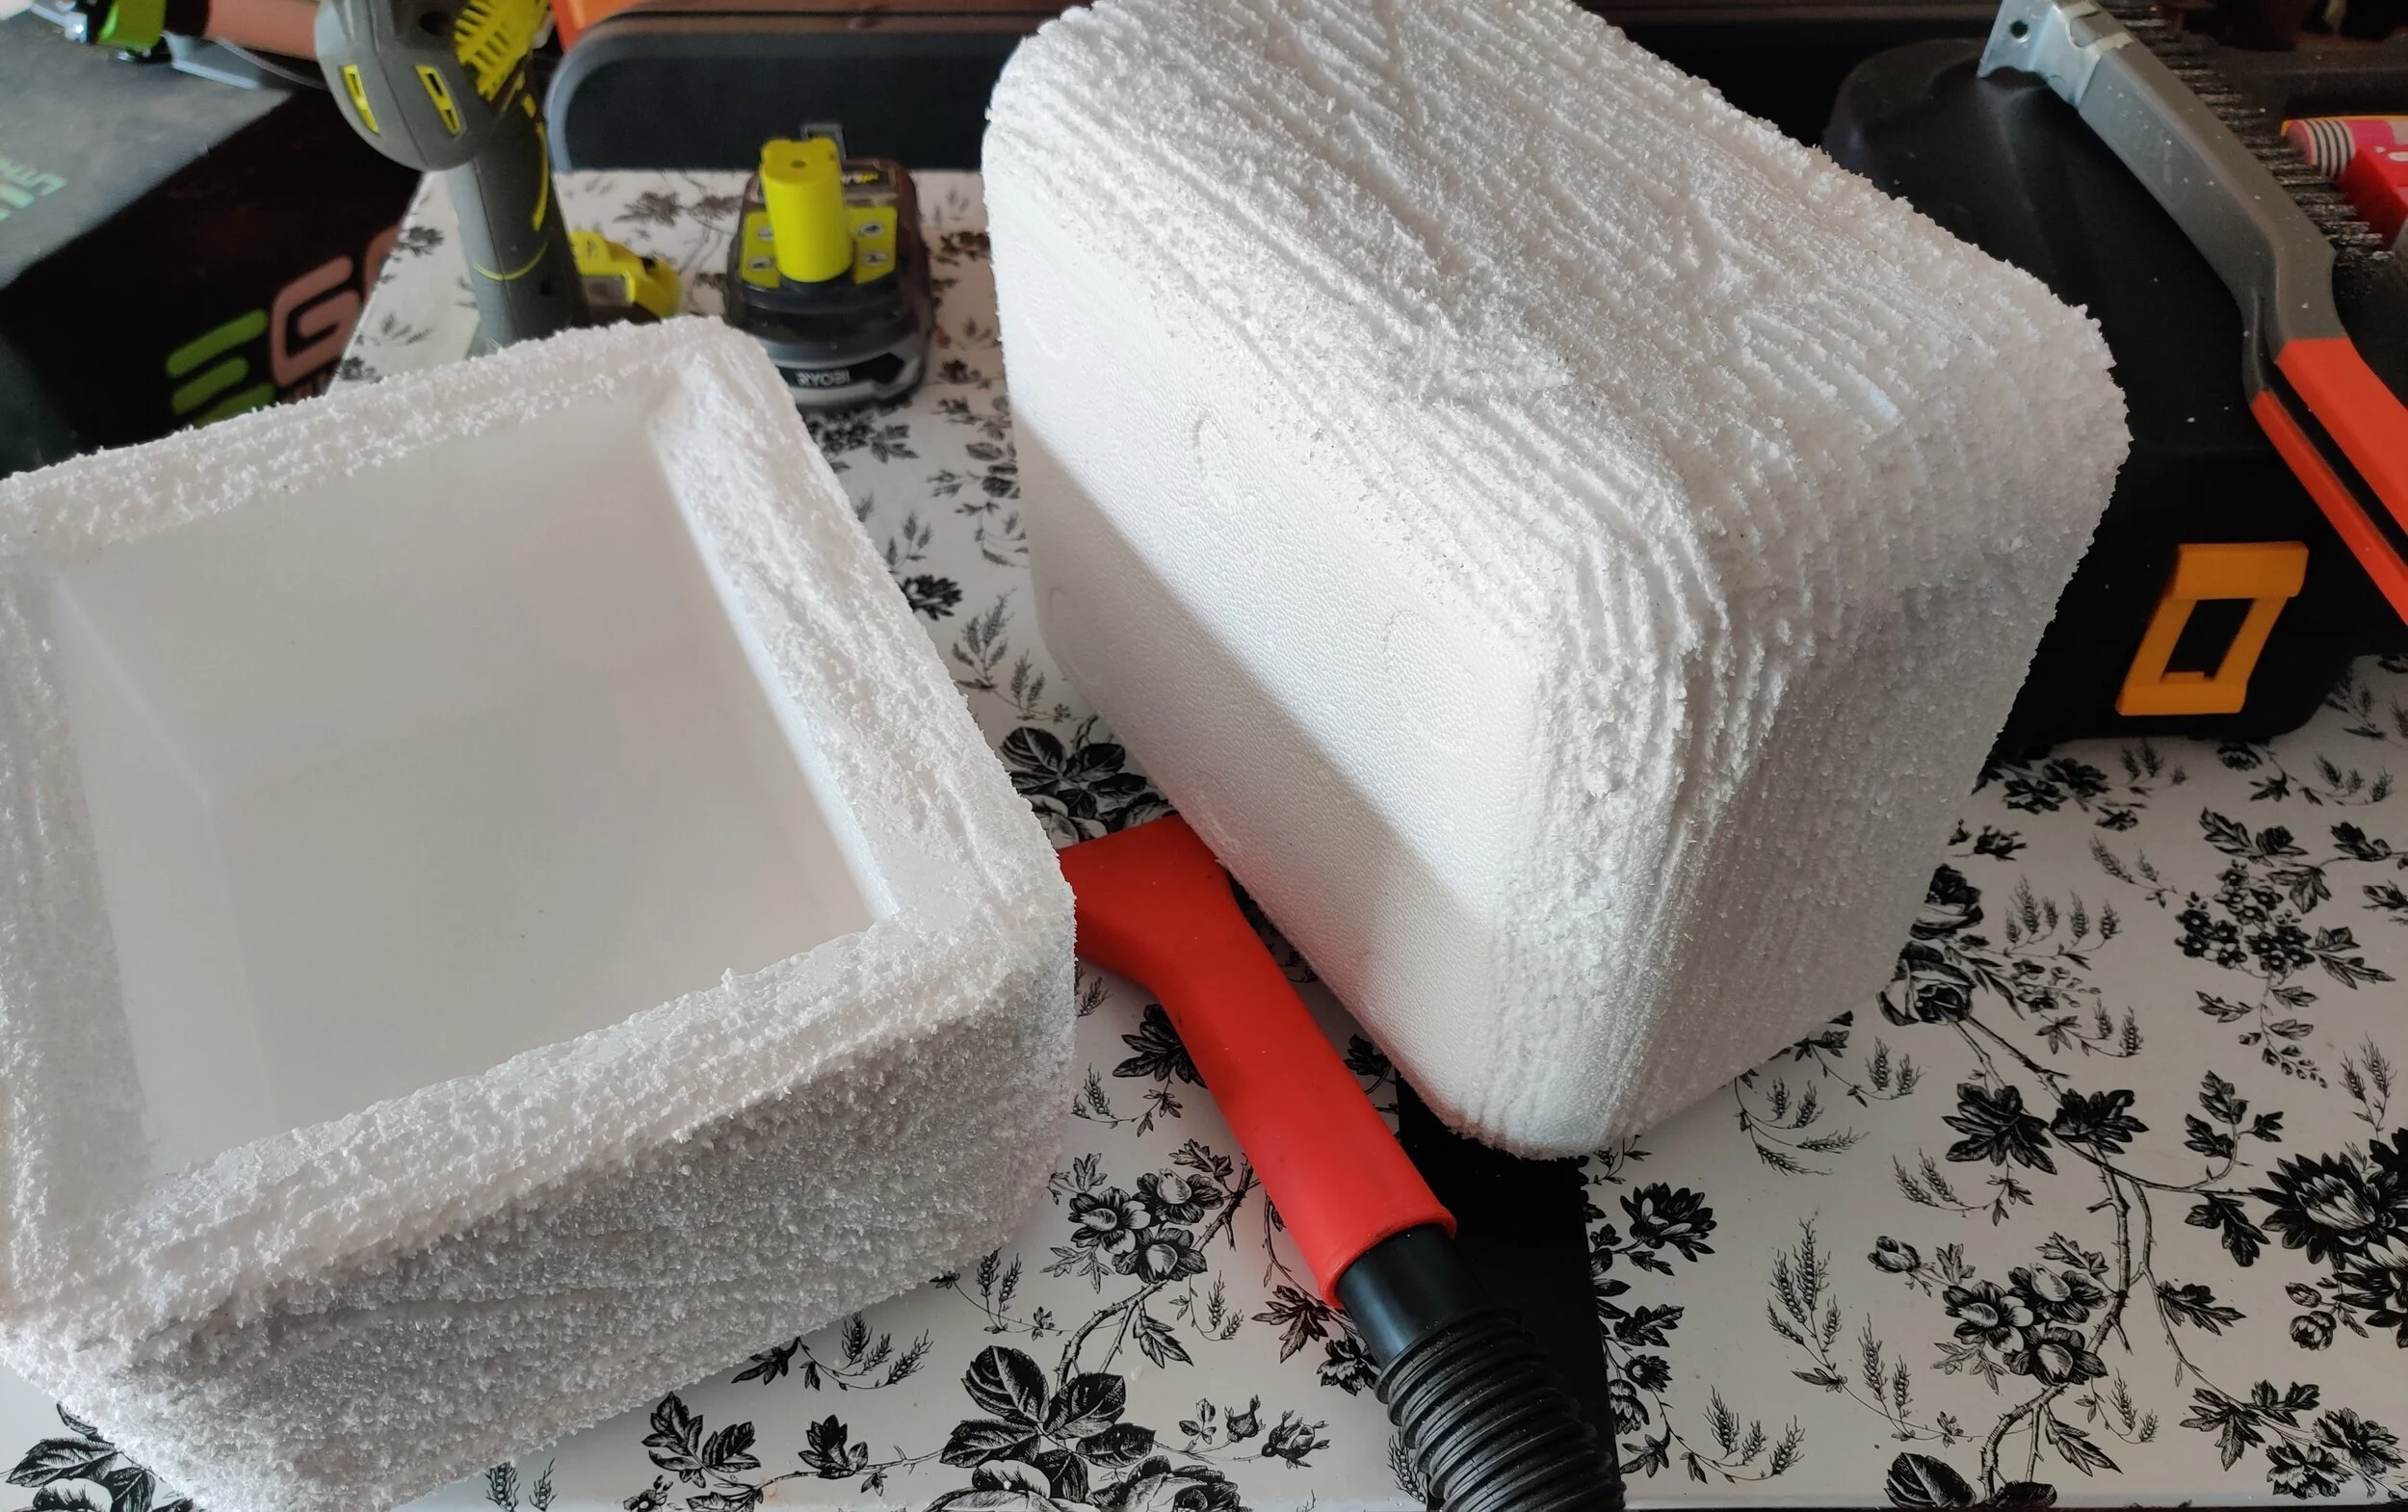
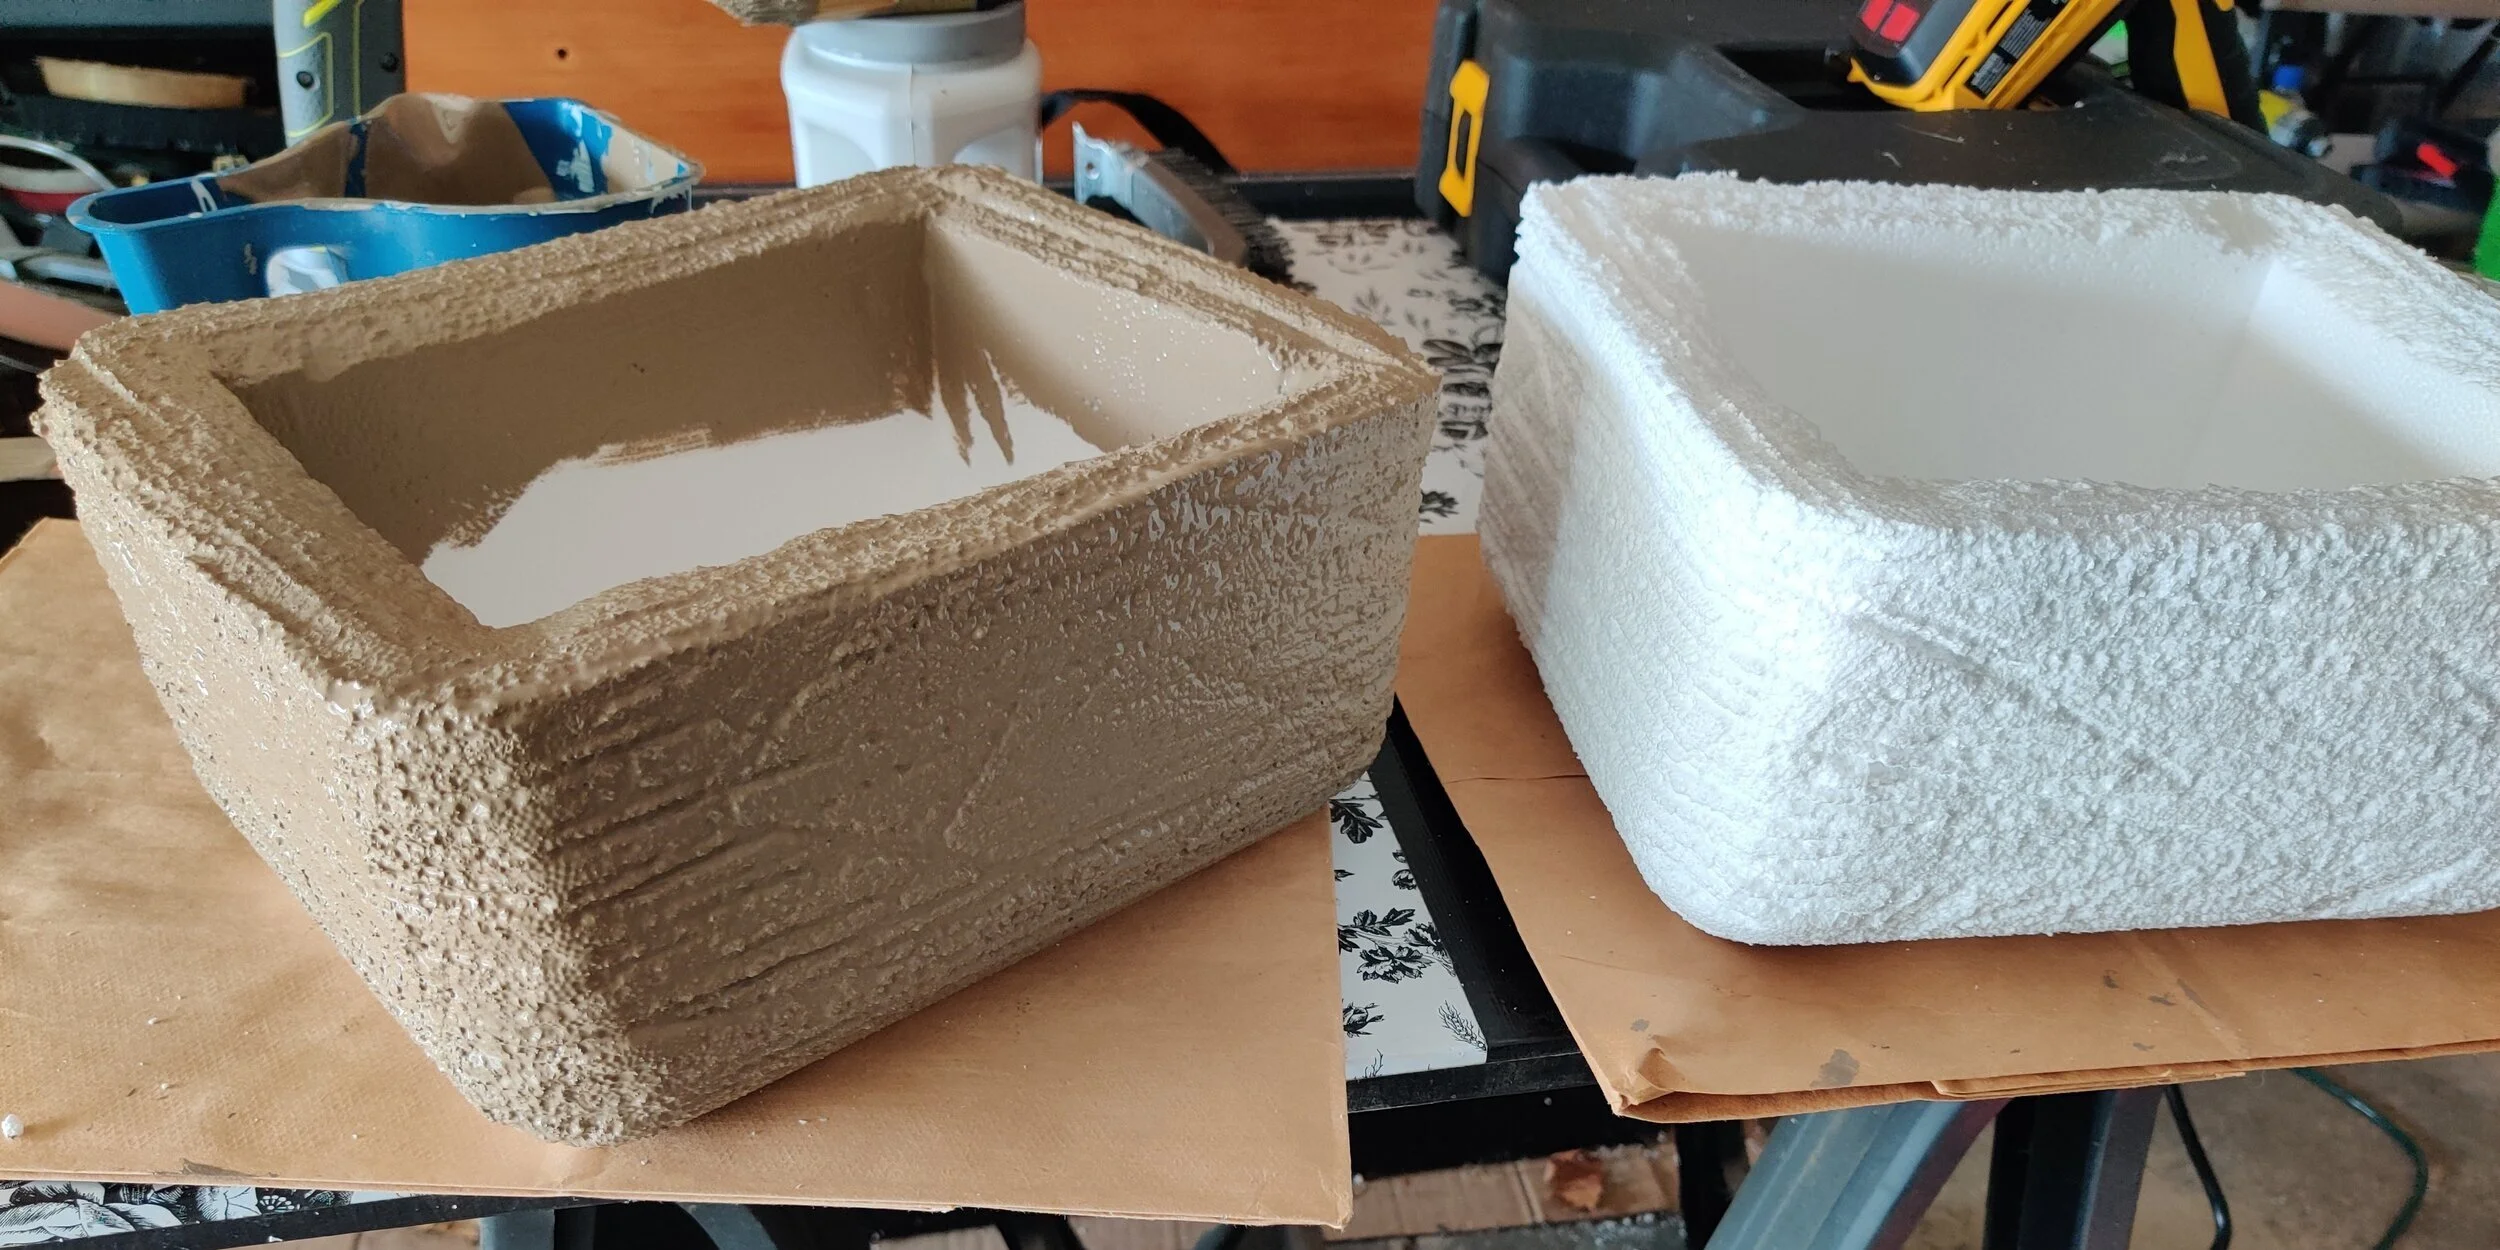
Using the wire brush, scrape away the foam on the top edge and sides of the cooler. I found it easier to remove material on the “pull” movement. Going in different directions leaves a random look to the markings. Remember to follow the contours of the corners and bottom if your container is rounded like these are. Then look over every surface to see if any spots were missed. It’s okay to leave the inside and bottom alone.
What a mess!
Break out the shop-vac to clean up before foam tracks everywhere. Be sure to run along every surface of the container. Larger pieces may clog the vacuum nozzle, so discard those by hand first.
Step 3;
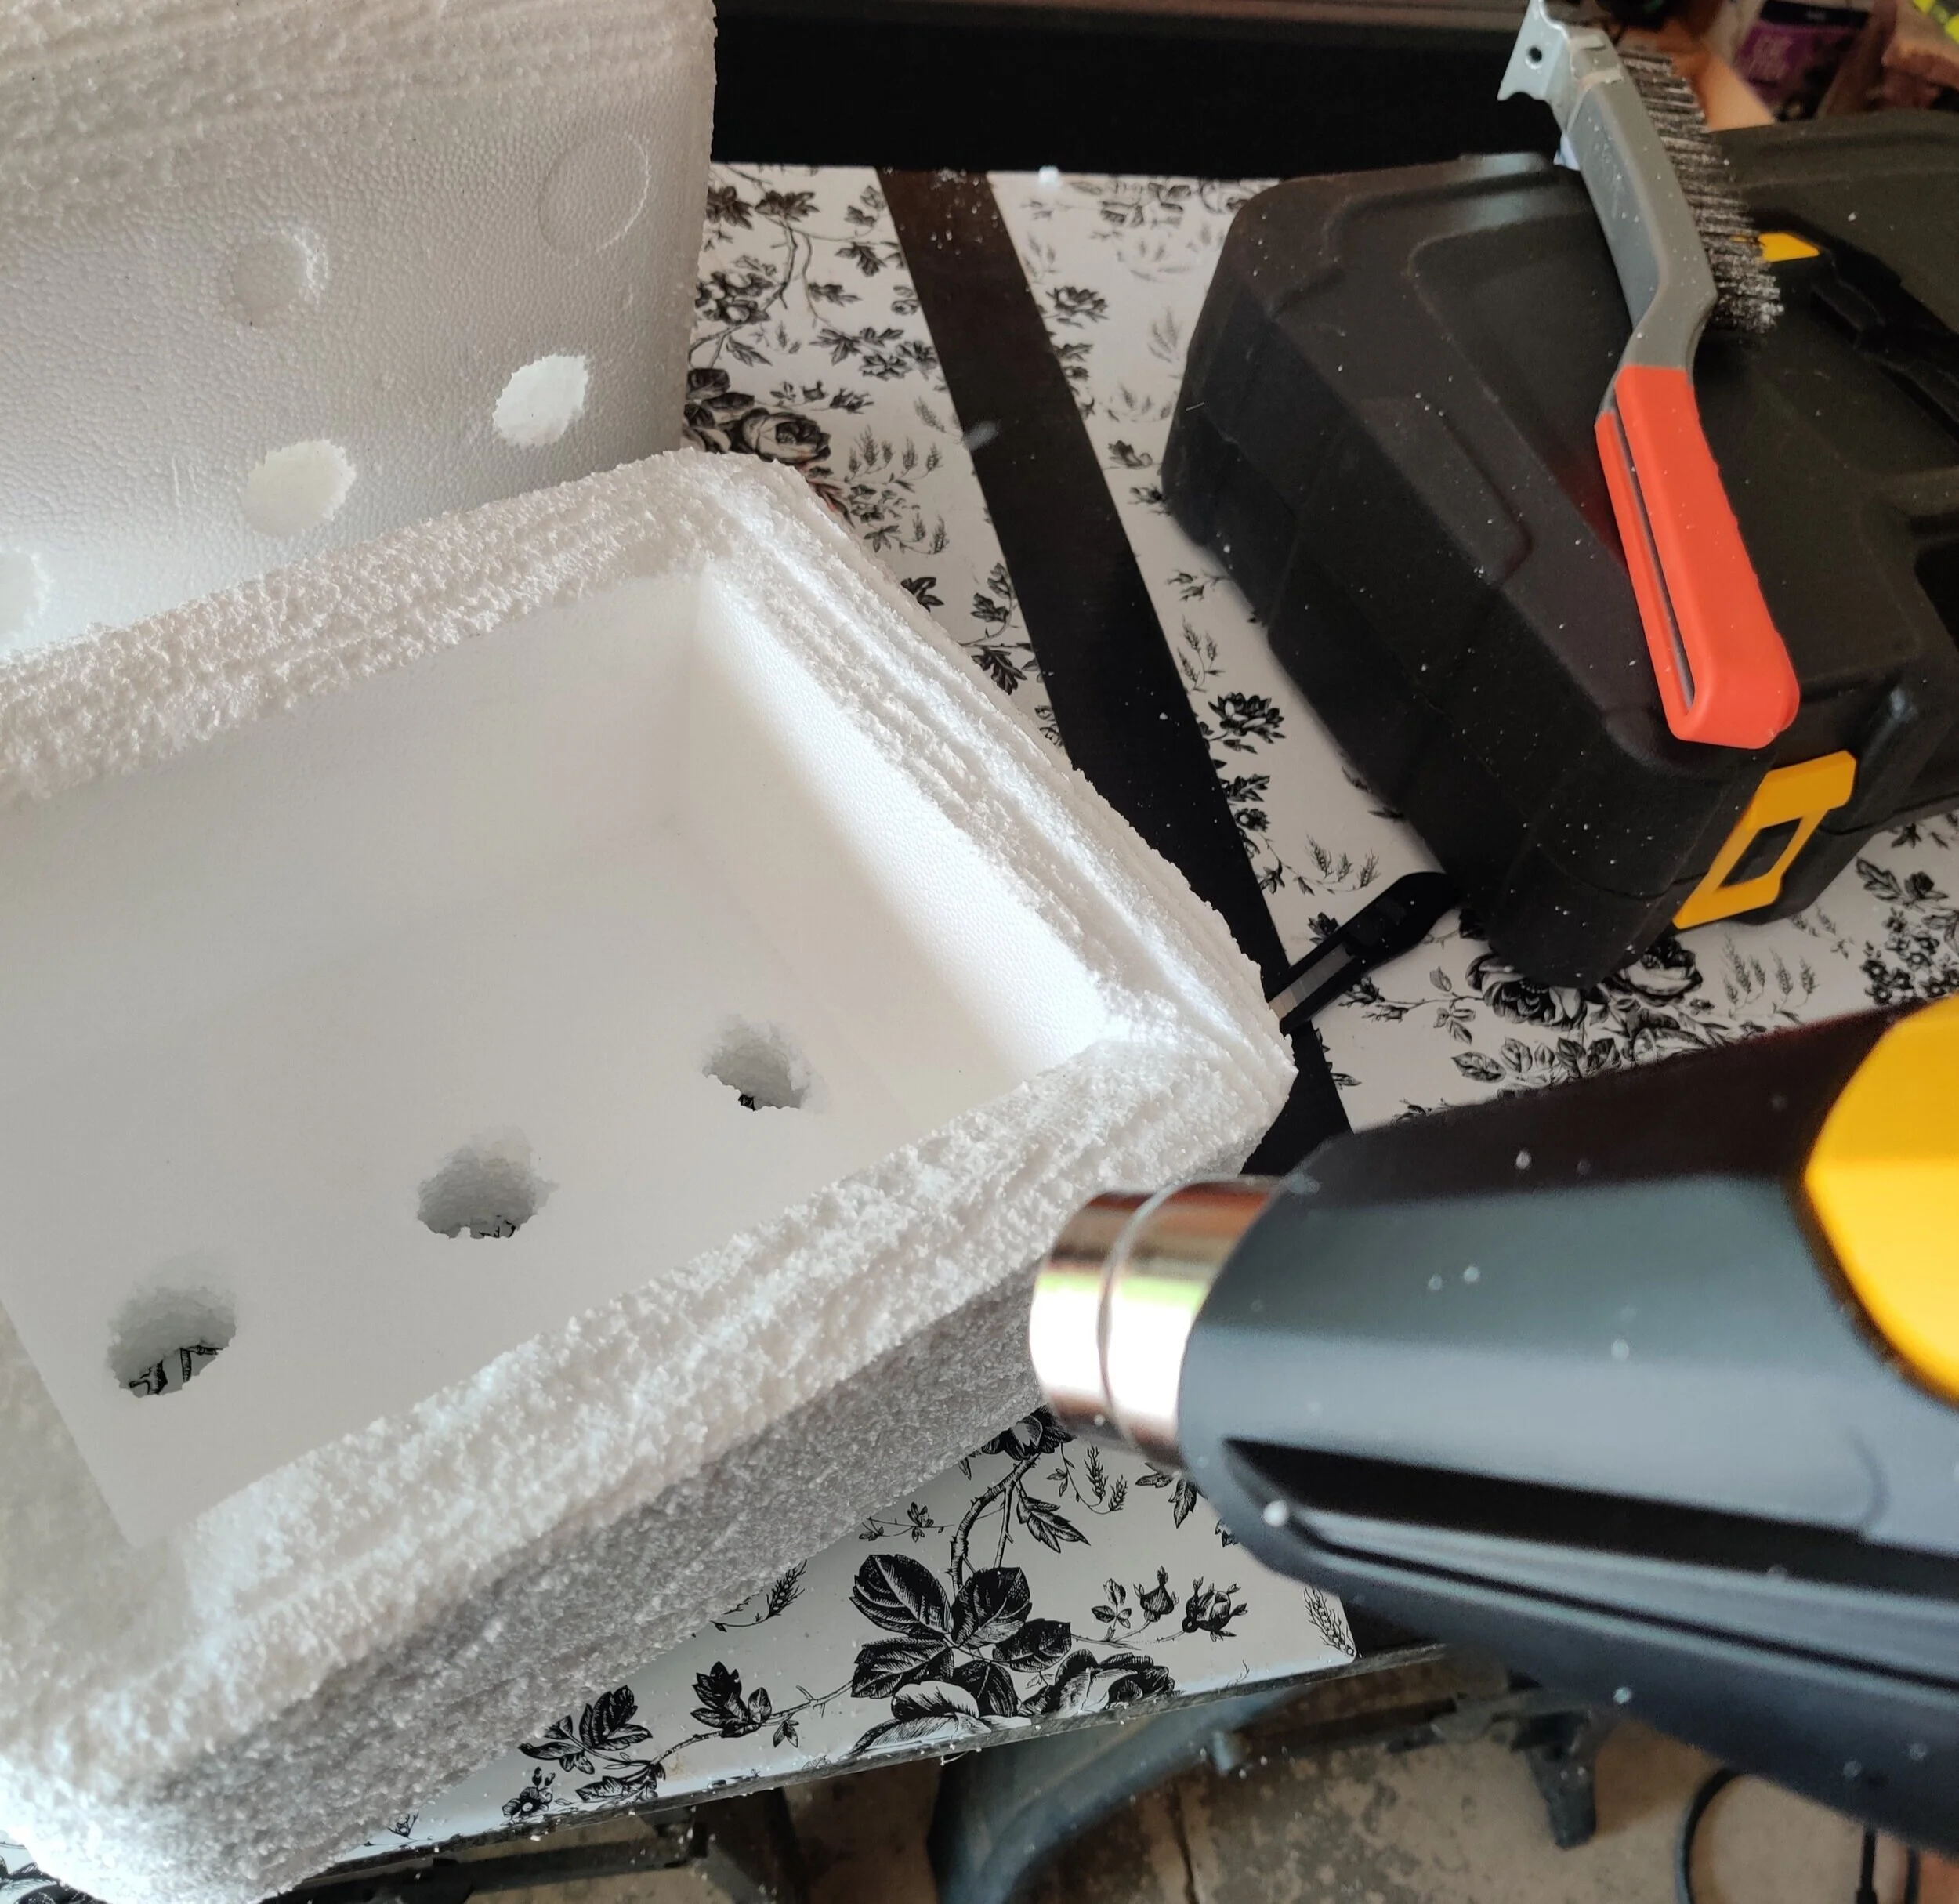
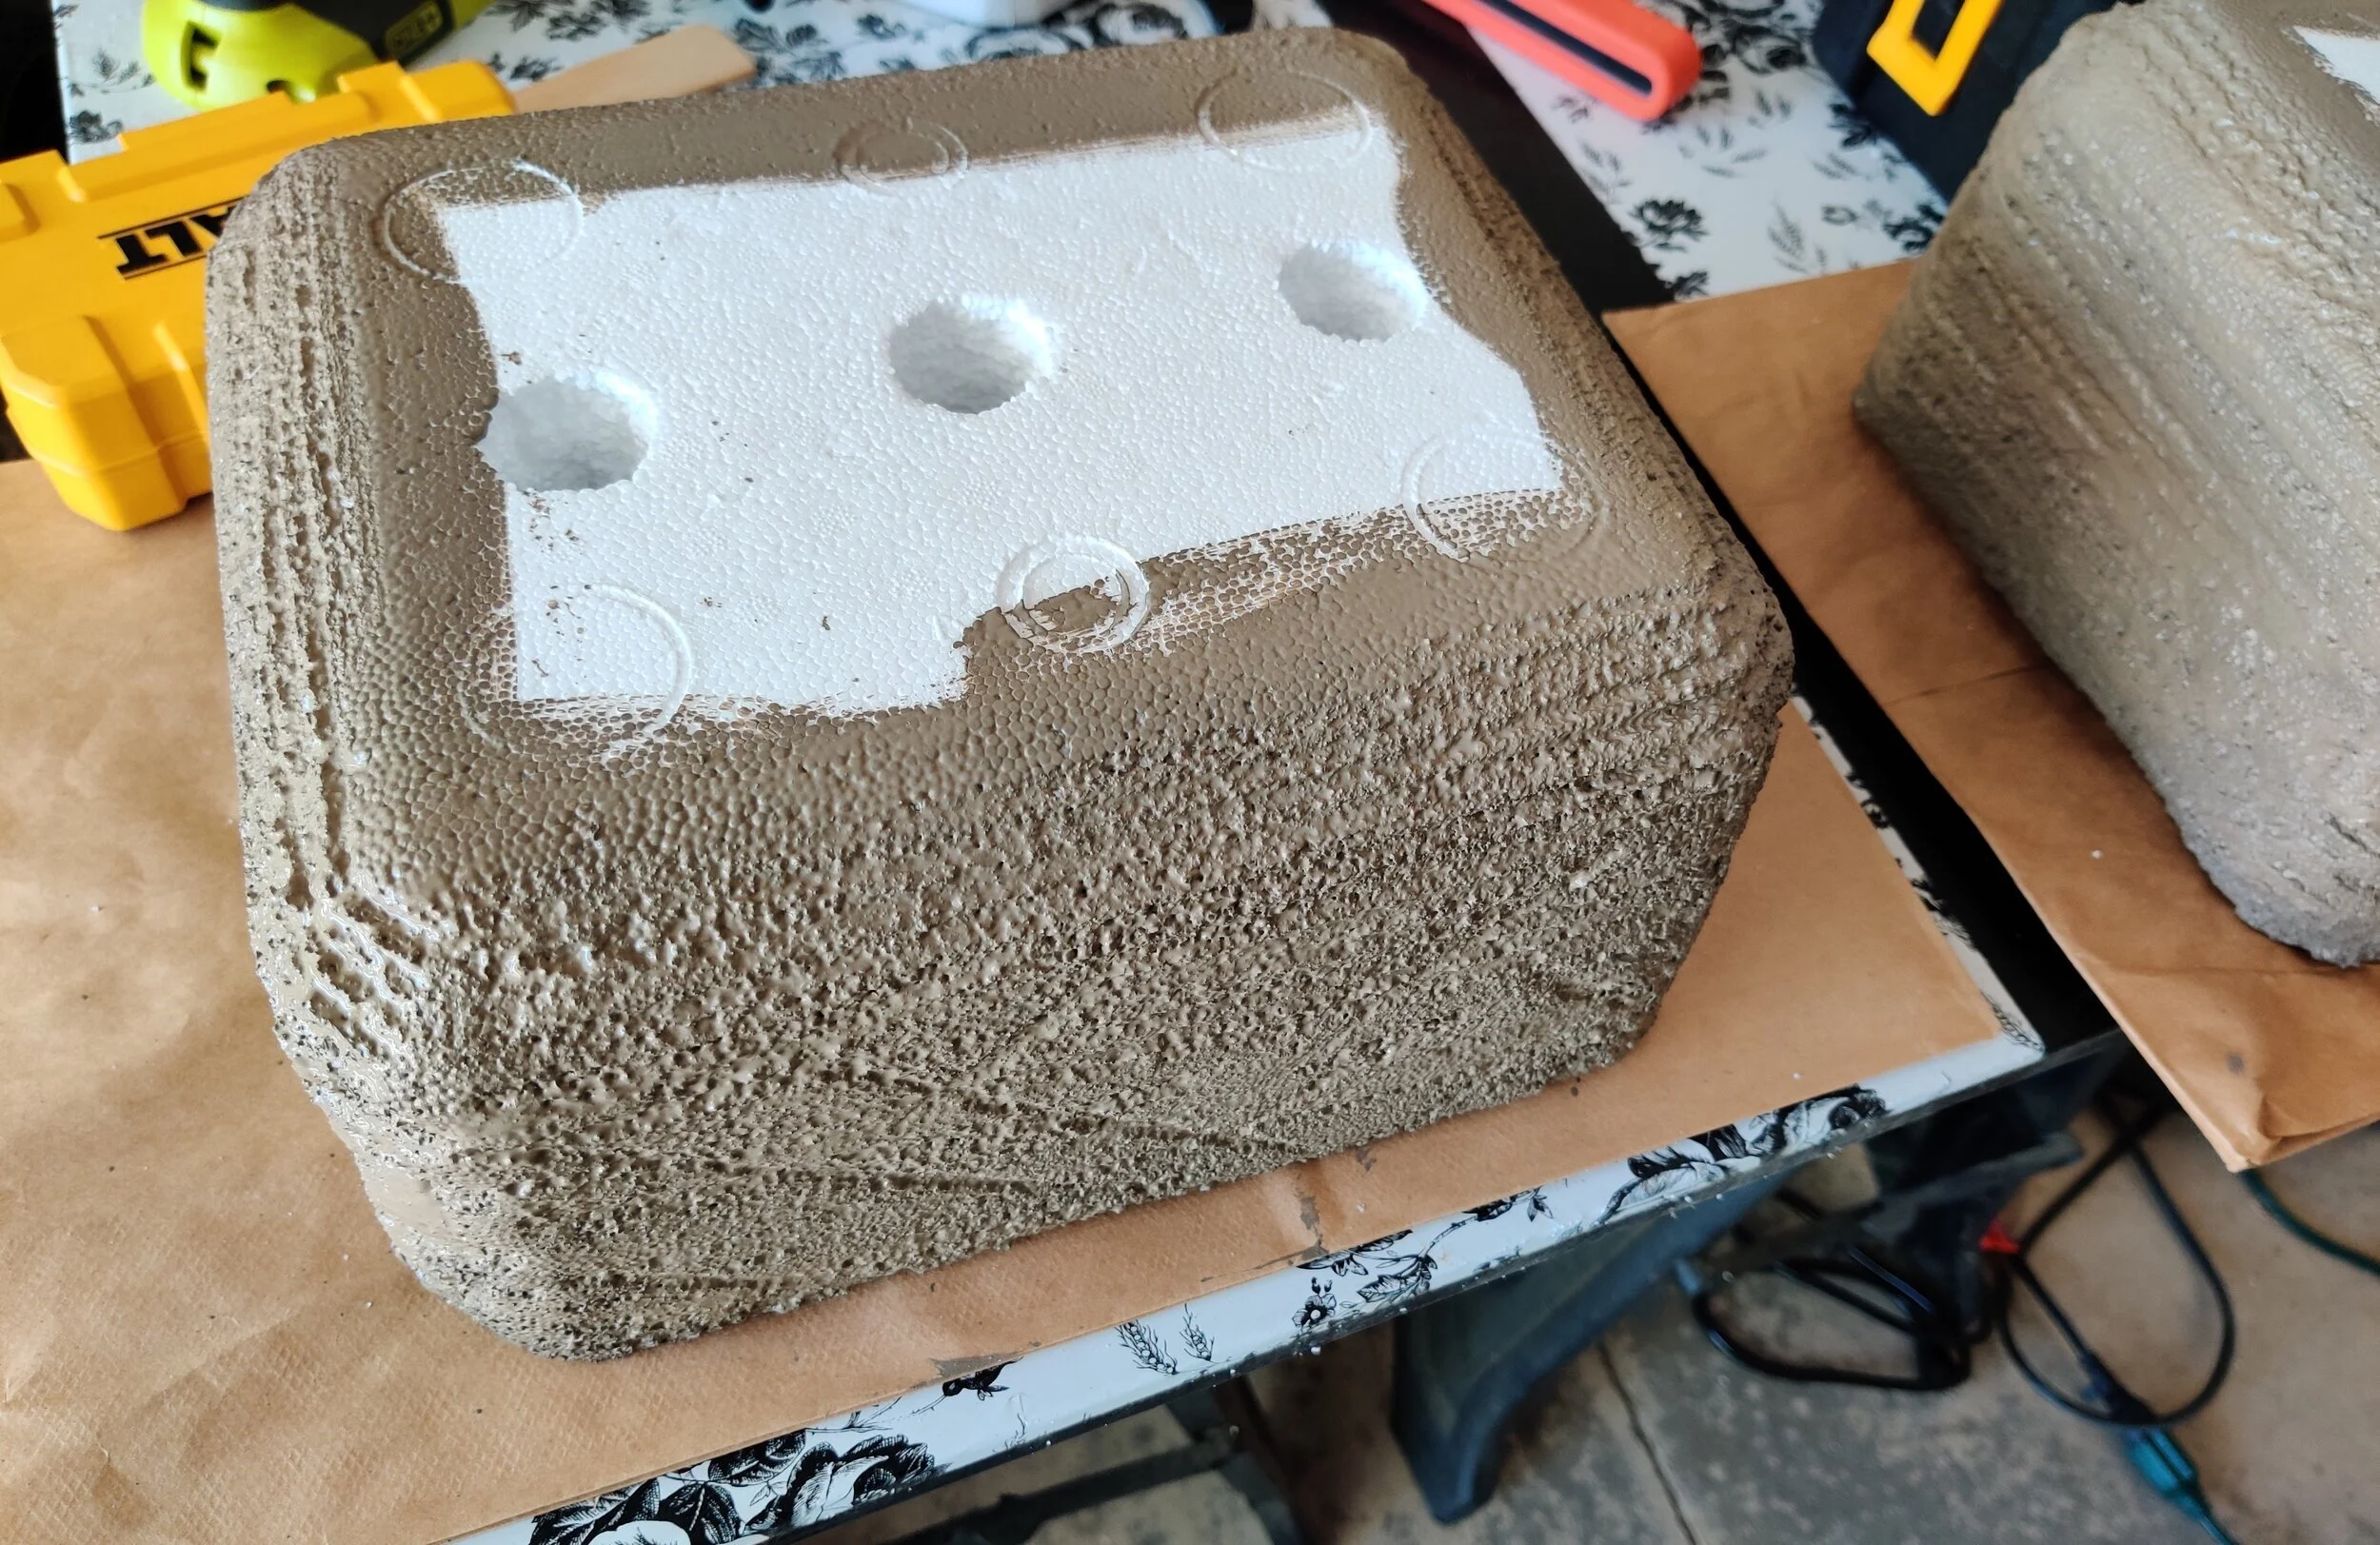
Drill Holes in the bottom so excess water can drain. I found that a hole saw made a neater hole, but a spade bit didn’t get clogged with foam. I made three 1” sized holes, but you can decide what is best for what you’re planting. If you only have regular drill bits, use close to a 1/2” bit and drill in a few more places.
Then grab the vacuum and cleanup again. Those little bits really do get everywhere.
Step 4;
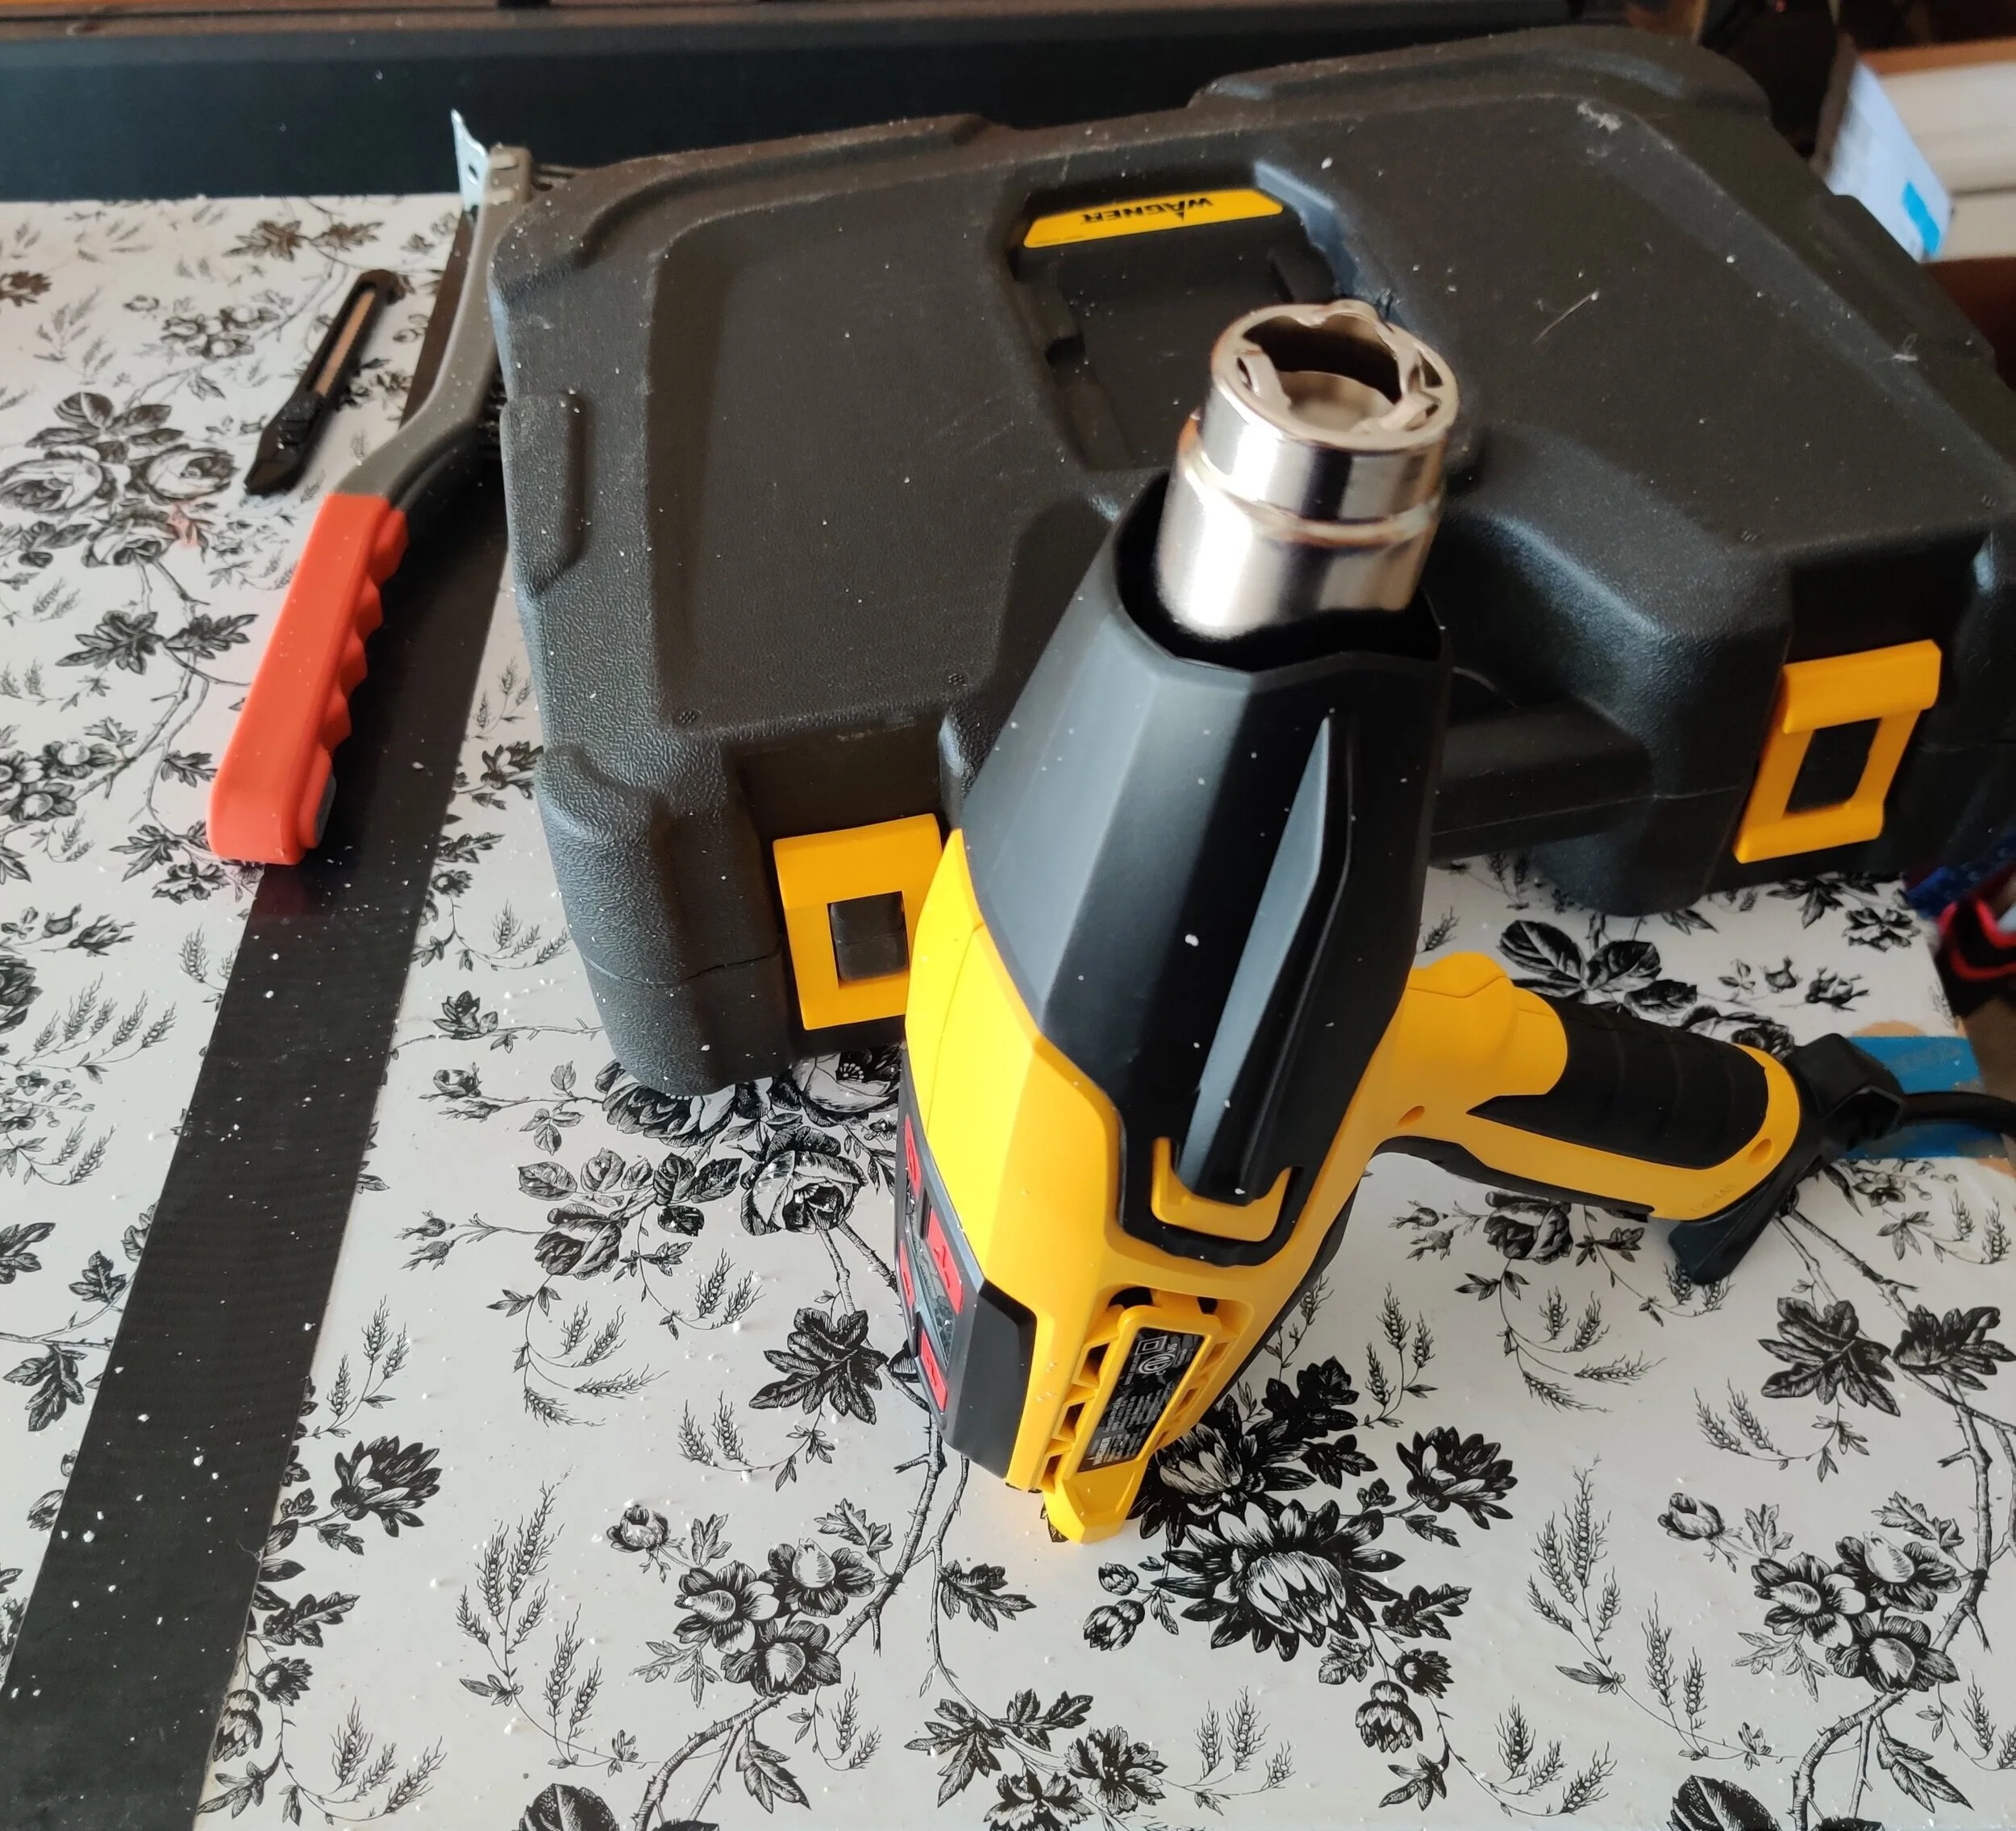
Use a heat gun to seal the foam. Use caution during this step! I recommend wearing a leather glove in the hand that holds the container. Apply heat from a distance so that the Styrofoam just barely melts to prevent little pieces from continuously falling away. Foam melts very quickly, if it is turning a burnt color or is melting too much, back the heat away a little bit. Some heat guns have different settings. Follow the recommended heat setting for shaping foam in your manual. In general it is not necessary to have the device on the highest heat & fan settings.
Continue to use caution with the heat gun.
Remember that the end will still be hot for a few minutes. Consult the manufacturer’s manual for safety and use guides.
Painting the planter
This can be messy too, prep your area.
Step 5;
Before painting clean up any remaining foam dust and place a paper bag under the planter.
Use what you have for paint, though some types may melt the foam. I recommend acrylic, latex, & general water soluble paints. If unsure, test a spot on a scrap piece.
To have it look like concrete or stone I recommend a grey color for the undercoat. I happened to already have a sample of interior house paint in a brown color, so that’s what I decided to use. I used a 2” bristled brush for this step.
The undercoat will need to be done in two sessions with time in between to dry. I started with the top, working the paint into the little pockets, missed areas can get a touch up later. Remember to paint a few inches inside the container. Continue painting the sides stopping short of the bottom. Check the piece over for paint runs, wash out the brush, then let dry for a few hours or overnight. (Side tip; I still had paint left in my cup so I put it in a zip lock bag to prevent it from drying out.)
Once dry, Finish painting the lower sides and slightly onto the bottom of the container. This is also an opportunity to check the other areas to see if anywhere needs a touchup. Cleat out the brush & let dry again.
Step 6;
For the highlight layer of paint I chose a multi-surface acrylic paint in grey. If you used the recommended grey for the previous layer then use a brown or noticeably different shade of grey for this layer. I found that a foam brush works best for this step. A bristle brush tries to get too far into the grooves for the desired effect. The paper bag also plays an important role in removing excess paint from the brush after loading. If you don’t have a paper bag an uncoated paper plate, scrap paper, or newspaper can be used. Again, use what you have! If you only have a bristled brush then be careful with how much paint you have loaded into it.
Load a small amount of paint onto the very end of the brush, then wipe off onto the paper bag. Next, begin painting the container by just barely going across the surface. Try to avoid going into the grooves. The result of this dry-brush technique, adds depth, shows off the markings made with the wire brush, and looks awesome.
Let dry and cleanup or discard the brush. The textured foam ripped up my brush, but you can rinse it out & trim the edge if you like to get the most out of your supplies.
Prepare to Plant
Almost complete!
Step 7;
Before filling with dirt, I recommend covering the drainage holes with a few rocks, woodchips, or with a piece of window screen. This will keep dirt from falling out and aide with water drainage.
Finally, fill your masterpiece with dirt and plant something!
Going Further
Put your spin on it!


